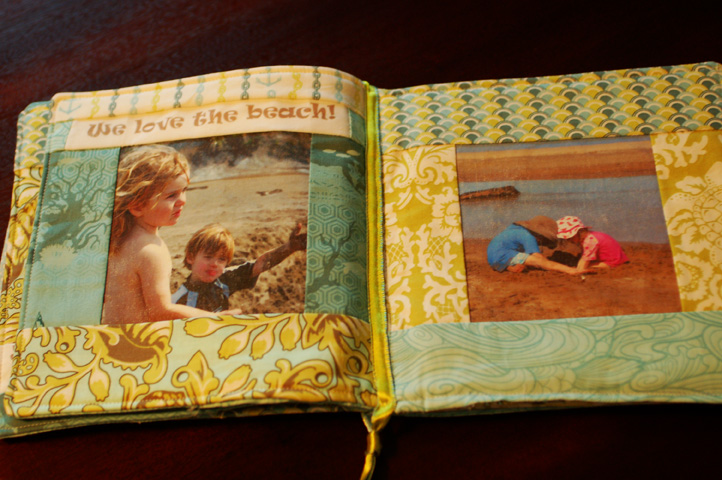
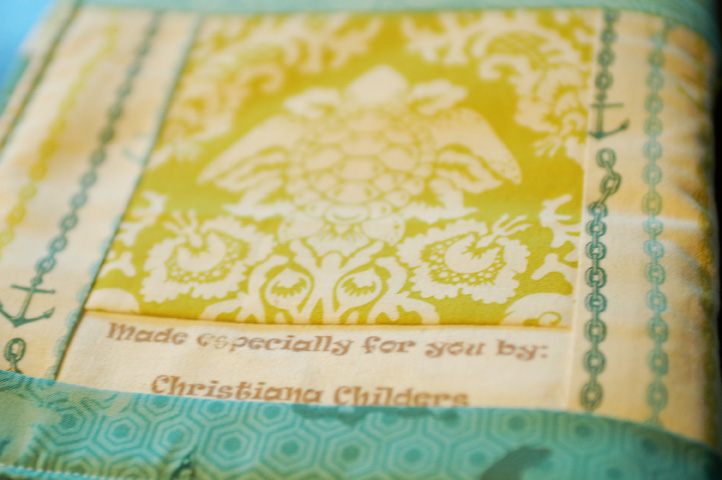
Here’s a fun photo project if you have a bit of sewing know-how. The girls and I made one of these for my nephew and my sister-in-law liked it so much she asked me to make on for a friend of her’s who just had a baby. I think it turned out pretty cute, if I do say so myself!


If you want to try this yourself here are a couple of tips;
1. I used iron-on transfer paper which worked OK but for the book I made for my nephew, I used a special fabric that you can print right onto. This worked so much better since you have to iron the pages over and over again when making the pages and with the iron-on transfers, you have to be really careful not to put a hot iron right on the page. The only reason it didn’t do that this time is I felt like they really sucked up the printer ink so thought it’d save my ink. If I do this again, I think I’d go back to that printer paper(fabric). It saves a lot of time because your not ironing and then sewing, it’s just there for you. Pretty cool.
2. If you use the iron-on transfer, you have to print it backwards! Big tip!!
3. It worked well for me to make this book so each finished page was sewed together to three other pages (foursided pages) and then I sewed those finished pages altogether to make the finished book. The middle page was a stand alone so I sewed the ribbon on there to finish it. I had to make up a mock book out of paper in order to make sure I got all the pages together right. It made my brain hurt to try to figure this out until I made up a mock. So the front and back pages are sewn together but, as you look at it the front is on the right, and then back on the left so that when you fold it, it opens the right way. Then I sewed that together with the first page and the last page and so on. Does that make sense? It’s hard to explain but if you do a mock up, it’s easy to figure out.
If anyone tries this, send me a photo!! I want to see it!


LOVE it!! These things,art and craft projects, are always hard to explain without being able to ‘show’ concrete examples…I’m working on how to do the same thing. I’ve been wanting to try one of these cloth books–I love yours!
Christiana, that’s a beautiful book and I love the art project!
The website looks great!! xx
Wow! You are tooooo good. I tremble in your presence!